Would you like to grow delicious, fresh paprika in your garden? Growing paprika can be done in many ways.
If you have a garden, you can grow them in open ground. If you have a greenhouse, you can cultivate them through forcing. But even if you live in an apartment or have a balcony, it’s easy to grow them as long as you follow a few important basic rules. What am I thinking of? I’ll show you.
Basic Facts
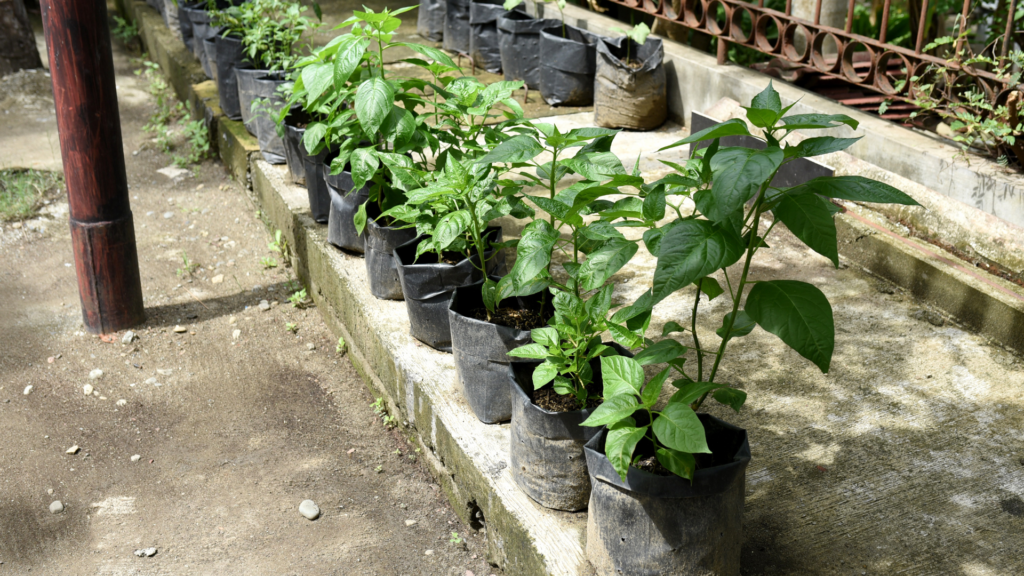
Growing paprika is relatively simple since we propagate it by seeds. However, for both open-ground cultivation and forcing, you need to cultivate or acquire seedlings. Seedlings grown from seeds should be transplanted into your garden in early summer.
If you choose forcing, the timing for transplanting seedlings varies depending on the type of forcing you choose:
• For early forcing (which requires a heated growing device), you can transplant seedlings before February 1st.
• For mid-season and cold forcing, transplanting should be done after February 1st.
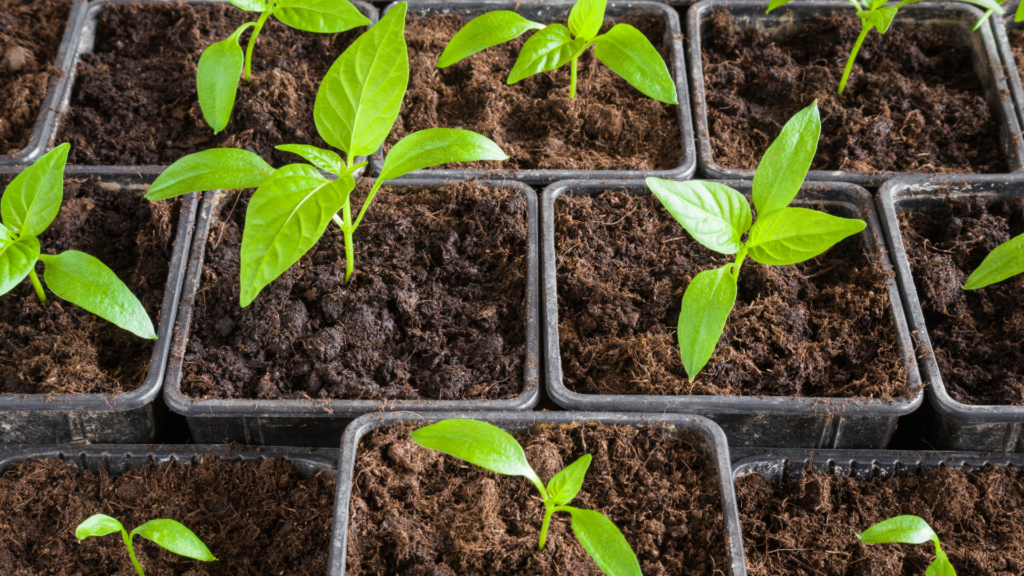
Seed sowing? How? You might wonder how to grow seedlings from seeds.
• First and foremost, select the variety that best suits your goals and then obtain the seeds.
• Paprika seeds require a temperature of around 20°C for germination.
• Raising the seedlings takes 6-8 weeks. The most common sowing time is in mid-March.
• You can sow paprika seeds by scattering them in a seed tray or in rows. Alternatively, you can sow them individually in containers like seedling cubes, plastic cups, or plastic trays.
• Water the sowings and young seedlings, provide ventilation when necessary, weed them, and fertilize with a nutrient solution!
• Before transplanting the seedlings into the garden or growing device, plan the layout. Space the pepper plants about 20 cm apart!
If you carefully care for the plants after transplanting, they will reward your efforts with delicious pepper harvests.
Plant peppers on your balcony.
To grow peppers at home, you don’t even need a garden; a sunny balcony and balcony boxes or flower pots will do. However, the joy of harvesting fresh, vitamin-rich, and tasty fruits from your own plants can be immense.
How to plant peppers in balcony boxes?
You can raise pepper seedlings at home or purchase pre-grown pepper seedlings.
Regardless of your choice, make sure to select varieties that best suit your needs! You can grow green peppers, California peppers, chili peppers, or any other suitable varieties in your balcony boxes. The variety selection is quite extensive.
If you decide to raise your own seedlings, get high-quality, certified seeds! You can start seedling cultivation in March. You can even use yogurt cups for seedlings if you poke holes in the bottom, fill them with loose, nutrient-rich soil, and plant 2-3 seeds about 1 cm deep.
Place the seedings in a warm spot, ensuring the soil is moist but avoiding overwatering.
Put the small seedlings in a sunny location to prevent them from becoming leggy.
Once your self-cultivated or purchased seedlings have grown stronger, transplant them into balcony boxes!
Make sure there are drainage holes at the bottom of the balcony box.
Create a drainage layer! The simplest way is to place a 2-3 cm layer of gravel at the bottom of the box.
Fill the balcony box with loose, nutrient-rich soil mixture!
Plant the pepper seedlings 15-20 cm apart! Dig a hole for each seedling, place the plant in it, compact the soil around the base of the small plants, and then water them thoroughly!
Place the balcony box in a sunny location!
If you take good care of your pepper plants, you can harvest them on your balcony throughout the summer!
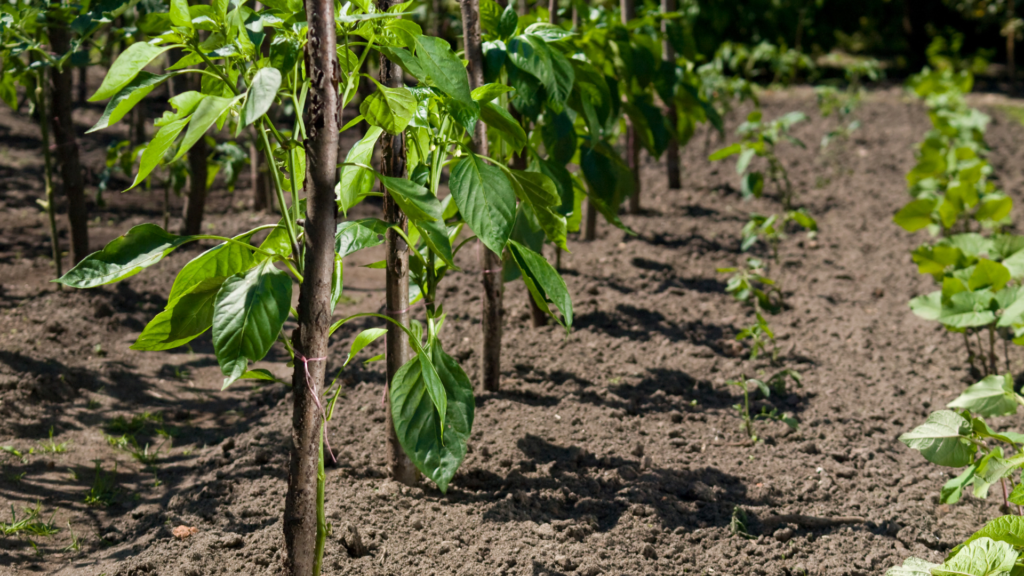
Planting Pepper Seedlings in Open Ground
Pepper cultivation can be successful in the summer in open ground, but it can also be done by forcing in early spring or in the fall. Given Hungary’s climate, the summer season is excellent for growing peppers. The significant advantage of open-ground cultivation is that you don’t need a growing device, and you can transplant the seedlings into your garden once the spring frosts are over.
Before transplanting the seedlings into your garden, it’s essential to plan the layout!
Pepper plants should be spaced about 20-30 cm apart from each other, but you must consider the growth and final size of the pepper variety. It’s crucial that the plants, once they grow, are not overcrowded, as this can lead to misshapen plants and reduced yields, as well as an increased risk of disease. If you take good care of the plants after transplanting, they will reward your efforts with delicious pepper harvests.
Spacing for Planting Pepper Seedlings
You must plan the transplanting of pepper seedlings in advance. The variety and the cultivation method determine the size of the growing area.
For continuously growing varieties, it is recommended to plant 8-10 plants per square meter.
For determinate varieties, it’s suggested to plant 12-15 plants per square meter. An alternating double-row or bed layout significantly simplifies care and harvesting.
Planting distances for pepper seedlings:
• For determinate varieties, the distance between plants should be 20 cm. The row spacing in a bed layout is 30 cm. The spacing between beds is 60 cm. In an alternating double-row layout, the row spacing is 25 cm, with a 60 cm distance between double rows.
• For continuously growing varieties, the distance between plants is 25 cm. The row spacing in a bed layout is 40 cm. The spacing between beds is 60 cm. In an alternating double-row layout, the row spacing is 25 cm, with a 60 cm distance between double rows.
Cultivating Peppers in a Greenhouse
Let’s go over your responsibilities if you want to cultivate peppers. Choose the type of cultivation:
– For early forcing, transplant the seedlings before February 1st, and heating the growing device is necessary.
– For mid-season forcing, plant the seedlings between February 1st and April 15th.
– Cold forcing allows planting pepper seedlings between April 15th and May 15th.
– For fall forcing, transplant the pepper seedlings at the end of August.
The choice of growth type for the variety you select is crucial.
– For continuously growing varieties, you must create a support system.
– Early forcing is suitable for continuously growing varieties.
– For mid-season forcing, choose continuously growing varieties or some determinate varieties.
– Cold forcing works well with both continuous and determinate growth varieties.
– For fall forcing, opt for determinate growth varieties as they are less sensitive to light deprivation.
Before planting the seedlings, prepare the growing device! Disinfect the framework and the soil! Ensure proper nutrient supply! Seedlings need to be sown in propagation trays (scattered or in rows), seedling cubes, plastic cups, or plastic trays (one seed per cell) 6-8 weeks before the planned planting date. Before transplanting the seedlings into the growing device (typically a greenhouse), plan the layout!
Growing Peppers in a Greenhouse
When cultivating peppers in a greenhouse, it’s most efficient to use a bed or double-row layout, which makes caring for the plants and harvesting easier. Use a transplanting trowel to create a hole for each pepper seedling, and then plant the seedlings. After transplanting the pepper seedlings into the greenhouse, the essential tasks for successful cultivation include watering, ventilation, heating (if required based on the forcing method), soil maintenance, and pest control. Once the peppers ripen, you can enjoy the pleasure of harvesting!
Key Tasks in Pepper Cultivation
Pruning
For single-stem cultivation of peppers, you need to establish a support system. The support system consists of wires stretched horizontally above the rows of pepper plants, supported by vertical posts. Use multi-strand plastic twine for tying the plants. Secure the twine with a slip knot to the upper support wire, and then loosely tie it to the base of the pepper plant, taking into account the thickening of the plant’s stem. Always prune peppers by hand, on sunny days, and on dry plants!
Tying
When practicing single-stem cultivation of peppers in a support system, you will guide the main shoot of the pepper plant upward along a string. Secure the twine with a slip knot to the upper support wire, and then loosely tie it to the base of the pepper plant. Pruning is necessary for peppers. Select the most robust shoot from the first shoots that reach a height of 5-7 cm, and remove the rest from the base. The remaining main shoot will branch out again but continue to maintain only the main stem!
Lead it vertically alongside the twine! Start removing excess shoots from the lower parts when they reach a length of 90-110 cm. In cases of vigorous growth, shoots may also develop from leaf axils below the first branch. Remove these from the base! This process is called “tying.”
Nutrient Requirements of Peppers
During seedling cultivation, the goal is to produce strong, sturdy seedlings. At this stage, it’s advisable to provide a high-phosphorus nutrient supply. After transplanting, a phosphorus-rich nutrient solution promotes root development and flower formation. Until flowering, it’s essential to ensure balanced nitrogen supply. During fruit formation, peppers have an increased potassium demand. Calcium deficiency can lead to blossom-end rot. Throughout the cultivation, it’s crucial to provide a continuous supply of micronutrients. Toward the end of the growing period, nutrient requirements decrease, so be sure to adjust your nutrient regimen accordingly if necessary!”
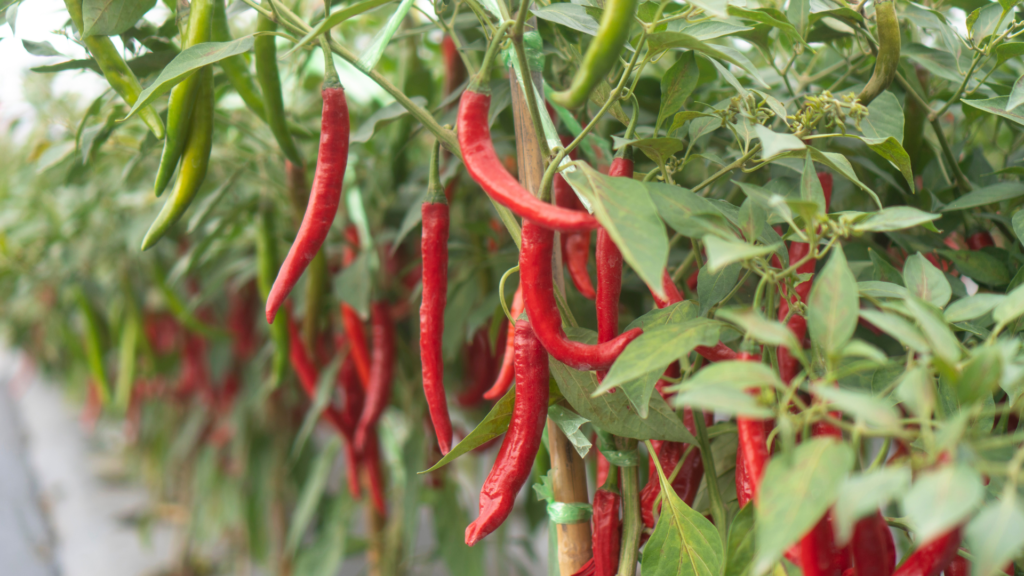
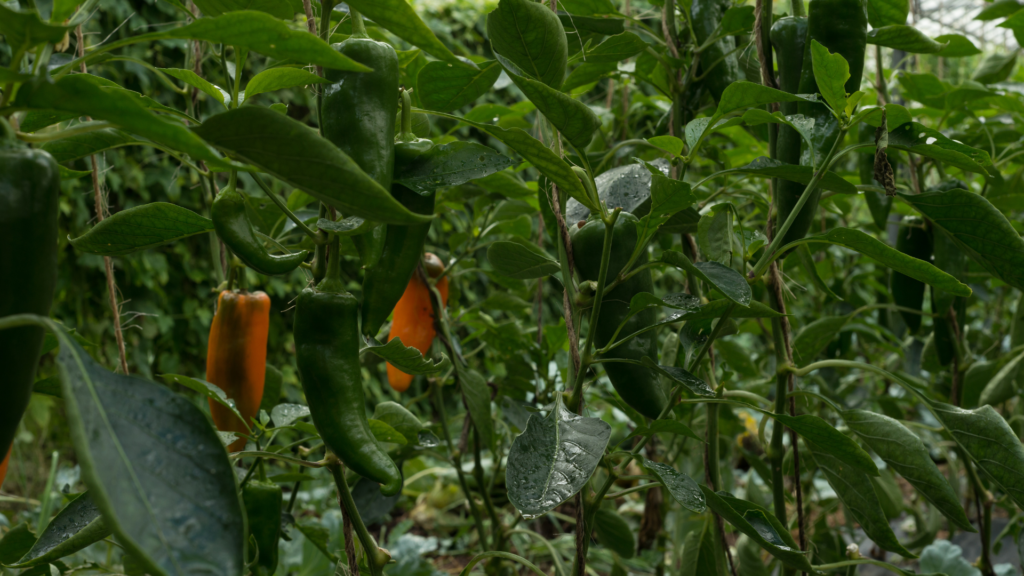
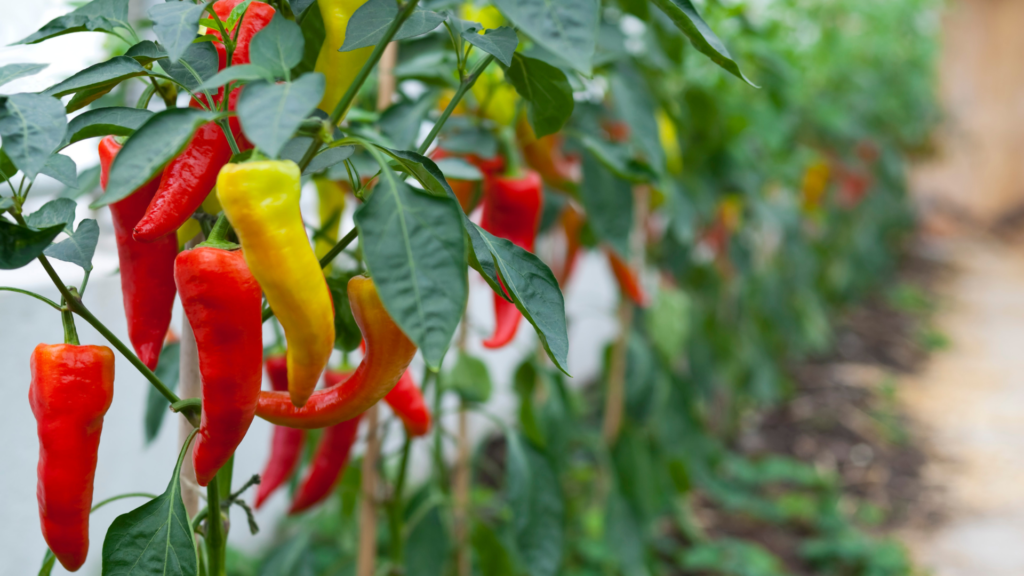
Harvesting Paprika
Harvesting paprika is a truly enjoyable task and can be done in multiple waves, almost continuously until autumn. Peppers typically have two stages of ripeness in practice. When harvested at the economically ripe stage, the pepper may not have reached its final, characteristic color, but it is already delicious, crisp, and can be harvested and used. If you wait for the pepper to be biologically ripe, it will usually turn red or yellow, develop some wrinkles, and the flesh will soften slightly. It is still edible at this stage, although this is generally less common for consumption.